Design Upgrades for the Robot
12th April
This blog will detail the various adjustments I made to the robot to help it navigate the obstacle course and effectively catch the balls. It follows on from a few adjustments I made to the Robot Stabiliser in the Assembly and Testing Blog so make sure to check that out first!
For the most part, the robot could navigate the obstacle course extremely well. However, various design adjustments had to be made in order to add the bucket. I’d initially written parts of this into other blogs so there may be overlap once again. Anyway here’s my process of me creating the bucket.
Design Parameters

Initial Bucket Design

The dimensions were pretty simple to calculate. The base will be the same as as the top plate (122mm x 82mm). I then used this ratio of roughly 1.5 (length to width) to calculate the length and width ratio that would give an area of 133cm². So final dimensions were about 133mm x 95mm. I then lofted and shelled it. I’ll adjust the height as testing goes on. It might even turn out that an actual cereal box overhanging the top plate might be simpler but we’ll see.
New Design
So I’ve decided that a circular design would be far simpler to implement. It also must be noted that a circular attachment is going to be far more consistent when launching the ball into the bucket.

The problem with the rectangular design is that the robot needs to hit the X mark on the course perfectly to ensure consistency with the firing of the balls when it comes to accuracy. So for now I’ll opt for a circular design.

For my basket, I decided that building one out of cardboard wouldn’t make sense since I needed something that was sturdy structurally. I stole my mother’s favourite baking apparatus since it would survive the expected collisions when testing. Unfortunately, this radius measured .5cm greater than the 6.5cm radius assigned. I’ll offset this with the cloth that makes the bucket slightly smaller. I also needed a slightly larger bucket since I’m operating the 3 launchers at a time I’ll need all the space I can get. The height of the bucket is about 10cm.
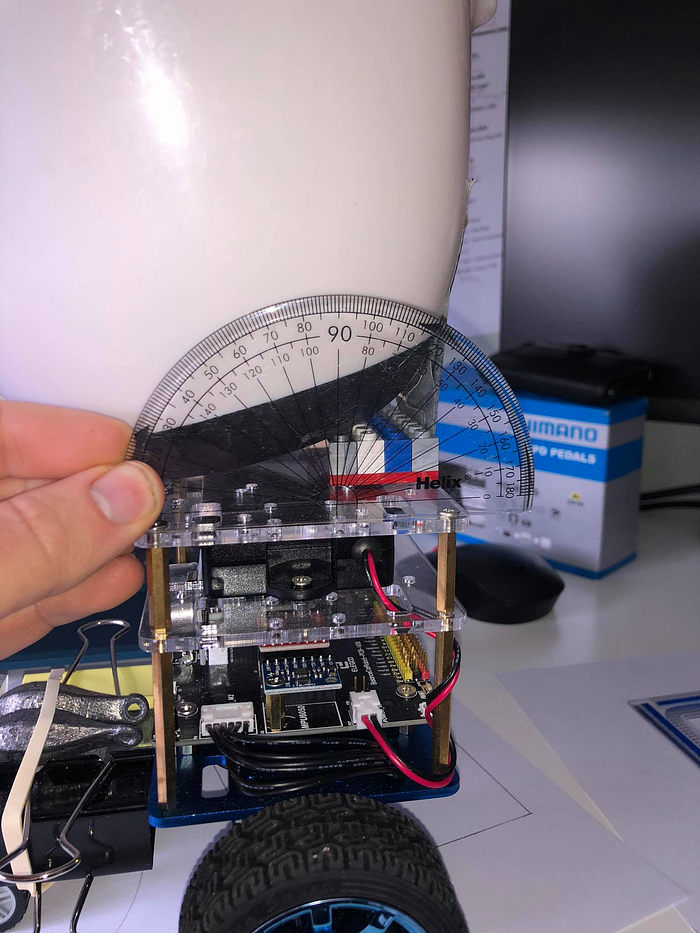
Angles of Elevation
I also added a tiny LEGO piece that was 1.2.cm in height to change the angle that the basket operated at. There seemed to be no rule against it and it also complimented the angle my launcher was set at very well. The angle was about 30 degrees and exposed more of the bucket to the arc of the ping pong ball

These features will really help when it comes to accuracy levels. All this testing is done in both the ping pong launcher and obstacle course blogs.
Excessive Energy of Ping Pong Balls
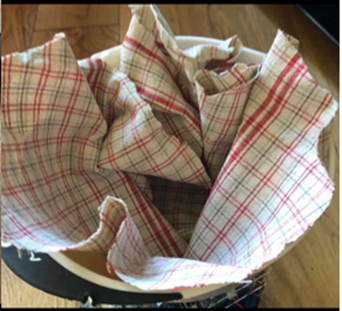
I found that when testing the ping pong balls they kept landing in the bucket, only to bounce back out again! I solved this by adding a cloth to the bucket. This helped absorb the incoming force and soften the blow as it hit the bucket. This meant it stayed in the bucket. It also slightly reduced the surface area.
Counterweights

When programming, I found that when I removed the self-balancing function from the robot, it tended to fall backwards a lot of the time. I solved this problem by balancing the forces into equilibrium by adding two fishing weights weighing about 400grams to the front of the foothold. I also slightly adjusted the attachment as you’ll see in the other blogs.
Those are all the design upgrades I made. Make sure to check out the other blogs for more.